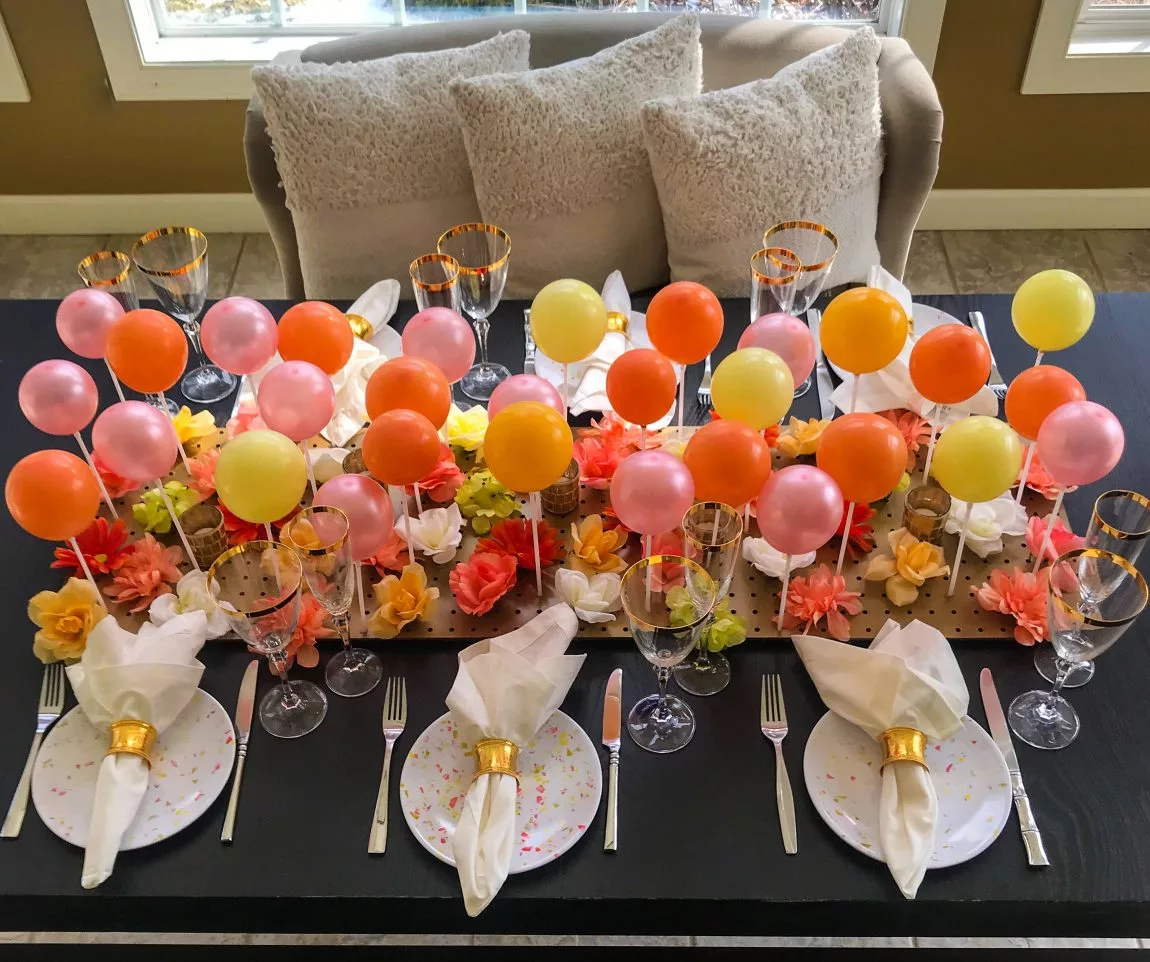
Would you like to know how to make balloon centerpieces for a baby shower? A baby shower is a special event celebrating the upcoming arrival of a precious little one. And what better way to add a touch of cuteness and fun than with balloon centerpieces?
We will guide you through the steps of creating charming balloon centerpieces that will be the highlight of the party as you read through this article.
But first, hope you know that a balloon centerpiece is a decorative arrangement made primarily using balloons? It serves as a center space for a party or event. And it adds color, fun, and visual interest to the overall décor.
Also, balloon centerpieces are versatile in design thereby giving room for endless creative possibilities. They can be as simple or elaborate as desired, depending on the occasion and personal preference.
Centerpieces are a great way to create a vibrant and joyful atmosphere at the baby shower.
What Do You Need to Make a Balloon Centerpiece?
How to make balloon centerpieces? Firstly, to make a balloon centerpiece for a baby shower, you need to gather all the necessary materials. You will need:
- Balloons of various sizes and colors.
- Balloon pump or helium tank if you are using helium-filled balloons.
- Balloon weights or anchors to keep helium-filled balloons from floating away.
- Ribbon or string for tying balloons
- Balloon clips or balloon sticks are optional, for securing balloons without tying
- Base or container such as a vase, pot, or balloon weight to hold the centerpiece.
- Decorative filler such as tissue paper or shredded paper.
- Scissors or balloon cutter for trimming balloon tails.
- Additional decorations, such as flowers, feathers, or baby themed stickers or cards to add more beauty to the centerpiece.
Also, it’s recommended to choose colors that match the baby shower theme or the gender of the baby, if it is known.
How to Make Balloon Centerpieces for a Baby Shower
- Inflate the balloons using a helium tank. If you don’t have a helium tank then, you can make use of a hand vacuum (blowing air into the balloons with the mouth). NOTE: Remember to leave a length of ribbon attached to each balloon for easy handling during the arrangement process.
- To create the centerpiece, take a balloon weight and attach it to a sturdy base, such as a vase or a decorative box. This will ensure that the centerpiece stays in place.
- Next, start arrange the balloons by tying them to the weight.
- To create a visually appealing centerpiece, try using a mix of large and small balloons and alternating colors to create a beautiful contrast.
- Arrange the balloons in a pyramid shape, with the tallest balloon in the center and gradually decreasing in height towards the outer edges.
- To add a personal touch, attach baby-themed stickers or cards to the balloons using a small piece of double-sided tape.
- Also, to give the centerpiece a more polished look, curl the ribbon attached to each balloon. To do this, simply run the ribbon along the edge of a pair of scissors or a ruler. Repeat this process for each balloon, ensuring that the curls face in different directions for added dimension.
- If you want to add additional flair to the centerpiece, you can consider adding other decorative elements. You can add some green leaves or flowers to the base of the centerpiece or tie some tulle or satin bows around the balloon weights. These little touches will add texture and elegance to the final display.
- Once you have finished arranging the balloons, step back and assess the overall look. Make any necessary adjustments to ensure that the centerpiece is visually balanced and appealing.
READ ALSO:
- What Should I Wear in Christmas Party? 8 Tip
- Christmas Party Dress: Unveiling the Magic of the Season
- Which Color is best for Christmas Party?
- Graduation Party Games: Top 5+ for a Final Celebration
In conclusion, the above are reliable steps on how to make balloon centerpieces. creating balloon centerpieces for a baby shower is a fun and creative way to celebrate the mom-to-be and the little bundle of joy on the way. Follow these steps and you’ll be so glad that you read this article.


